


Title: Contouring and Highlighting for Beginners: A Step-by-Step Guide to sculpting Your Glow
In a world where self-expression finds its canvas in the hues of our complexion, the art of contouring and highlighting emerges as a transformative tool, enabling anyone to enhance their natural beauty.Striking the perfect balance between shadows and light can seem daunting at first,especially with so many techniques and products at your fingertips. But fear not! This guide is designed for beginners, unfolding the essentials of contouring and highlighting in a simple, approachable manner.Whether you’re getting ready for a casual outing or preparing for a special event, mastering these techniques will elevate your makeup game, allowing you to contour those curves and highlight your best features with confidence and ease. So grab your brushes and your favorite creams—we’re about to embark on a journey to discover how to sculpt and illuminate your face like a pro!
Mastering the Basics of Contouring and Highlighting
Contouring and highlighting can transform your makeup routine and enhance your natural features. Start by identifying the areas of your face you’d like to sculpt and illuminate. Use contouring products that are a few shades darker than your skin tone to create shadows, and choose highlighters that are a few shades lighter to bring light to your best features. Here’s how to get started:
- Contouring: Apply contour to the hollows of your cheeks, along your jawline, and on your temples.
- Highlighting: Dab highlighter on your cheekbones, the bridge of your nose, and your cupid’s bow.
- Blending: Use a makeup sponge or brush to blend everything out for a seamless finish.
Understanding the right tools and techniques is essential for beginners. Consider using a contouring palette that offers both cream and powder formulas, allowing you to experiment with what works best for your skin type. You can also reference the following guide to know which products to choose based on your skin’s undertone:
| Skin Undertone | Contour Shade | highlight Shade |
|---|---|---|
| Cool | Taupe/Brown | Pink/Champagne |
| Warm | Caramel/Golden | Gold/Peach |
| Neutral | Grey/Brown | Beige/Soft Gold |
Choosing the Right Tools for Flawless Application
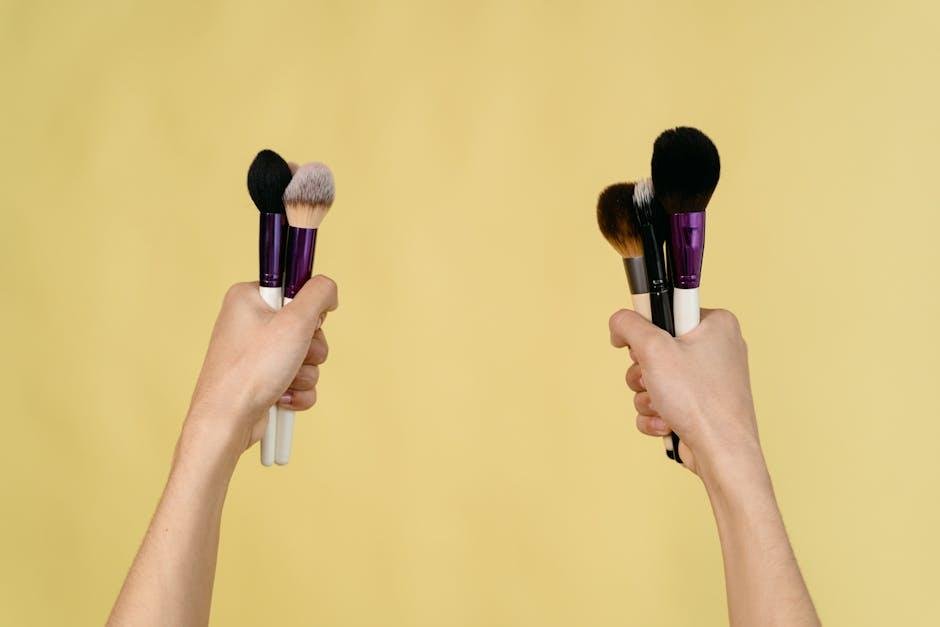
When embarking on your contouring and highlighting journey, selecting the appropriate tools is crucial for achieving that seamless, professional finish. Here are some indispensable tools you should consider adding to your beauty arsenal:
- Beauty Blender or Makeup Sponge: Perfect for blending creams and liquids seamlessly into the skin.
- Angled Brush: Ideal for applying contour to the hollows of your cheeks, it ensures precision and control.
- Dome Brush: Grate for highlighting the high points of your face, such as your cheekbones and brow bones.
- Foundation Brush: A flat, dense brush helps in applying base makeup smoothly before contouring begins.
- Pencil Brush: Useful for detailed work to highlight the inner corners of the eyes or the bridge of the nose.
To keep your tools in top shape and your application flawless, consider investing in some tools maintenance essentials:
| Tool | Maintenance Tip |
|---|---|
| Beauty Blender | Clean weekly with a gentle cleanser to avoid bacteria buildup. |
| Brushes | Wash them monthly, using baby shampoo for soft bristles. |
| makeup Sponge | Replace every few months for optimal performance. |
Using the right tools not only elevates your makeup game but also makes the process enjoyable. Remember, quality tools can enhance precision, making contouring and highlighting more intuitive and accessible for beginners!

Understanding Face Shapes and Enhancing Features
Facial shapes vary widely, and understanding your unique structure is the first step toward mastering the art of contouring and highlighting. each shape—whether it be oval, round, square, heart, or diamond—has its own characteristics that can be enhanced or softened with the right techniques. As a notable example, if you have a round face, you might want to create an illusion of length by contouring the sides of your forehead and jawline. In contrast, those with a square face could benefit from softening their angular features by using highlighter on the cheekbones and brow bones.
To get started, here’s a simple guide to contouring and highlighting based on different face shapes:
| Face Shape | Contouring Tips | Highlighting Tips |
|---|---|---|
| Round | Contour sides of forehead and jawline | Highlight center of forehead and chin |
| Square | Contour along the jawline and temples | Highlight cheekbones and center of forehead |
| Heart | Contour sides of forehead | Highlight cheekbones and chin |
| Oval | Minimal contouring, focus on enhancing | highlight forehead and cheekbones |
| Diamond | Contour jawline and forehead | Highlight cheekbones |
By following these tips, you’ll not only accentuate your best features but also achieve a balanced and polished look. Remember,the key is to blend your products well for a seamless finish. As you become more comfortable with the process, experiment with different products and techniques to find what enhances your natural beauty the most.
Step-by-Step techniques for a natural Look
To achieve a natural contour and highlight, start by selecting the right products that match your skin tone. Here are a few pointers to consider:
- Choose a Cream Formula: Cream products blend seamlessly into the skin for a softer finish.
- Pick the Right Shades: Use a contour shade that is 1-2 shades darker than your skin tone and a highlight that is 1-2 shades lighter.
- Use the Right Tools: Opt for makeup sponges or brushes that are designed for blending cream products.
Now,it’s time to apply. Follow these steps with precision:
- Contour Placement: Apply contour along your jawline, the sides of your nose, and under your cheekbones.
- Highlight Placement: Apply highlighter on your cheekbones, the bridge of your nose, and on your brow bone.
- Blend Well: Use a tapping motion to blend both products, ensuring that there are no harsh lines.
| Step | Description |
|---|---|
| 1 | Prep your skin with moisturizer for a smoother canvas. |
| 2 | Apply foundation evenly for a unified base. |
| 3 | Start contouring using small amounts to build intensity. |
| 4 | Highlight the high points of your face for natural luminosity. |
In Summary
as you embark on your contouring and highlighting journey, remember that makeup is not just about camouflage—it’s an art form that allows you to express your individuality. With the techniques outlined in this guide, you’ll gain the confidence to sculpt and illuminate your features according to your unique preferences. Whether you’re preparing for a special occasion or simply enhancing your everyday look, practice is key. Embrace the learning process, experiment with colors and tools, and most importantly, have fun with it. The world of beauty is vast and ever-evolving,so let your creativity shine as brightly as your skin after a perfect highlight. Now, go forth and transform your makeup routine into a canvas of self-expression—one contour and highlight at a time!

